How to use individual lash trays
Individual lash trays come in peelable strip lines of lashes designed to retain comfort and keep easy application in mind. For lash techs who’ve worked with lash pots, these lash trays are convenient and reduce the time needed for lash application. Each tray consists of lash sticker strips that lift off the tray and can be put on a lash pad close to the client’s lashes, saving lash techs from the hassle of individually picking lashes from lash pots etc. The variety of curl shapes and sizes also adds to the accessibility of these lash tray sets. This post will cover all things related to using individual lash trays, from what size to their application, specifically when it comes to classic and hybrid sets.
What are individual lash trays?

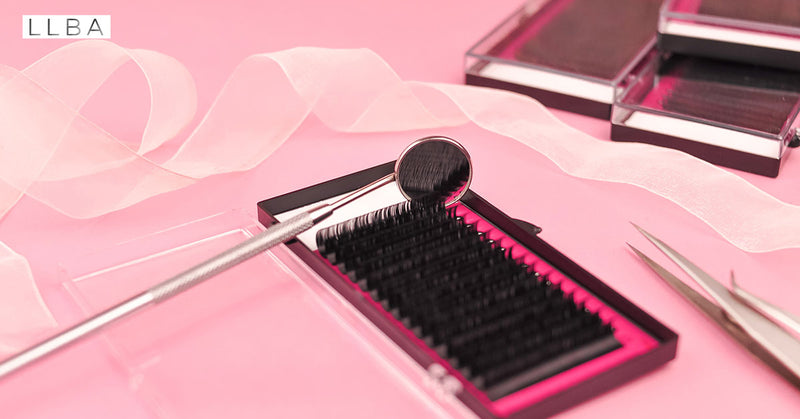
Individual lash trays are individual eyelash extensions presenting on a tape in a tray tightly placed side-by-side. These come in a whole range of variations depending on the curl type and size of the lashes and the material used for creating these lashes. Most commonly used materials are faux mink and silk when making individual lash trays. The key benefit of these lash trays is how it reduces time when applying them to clients, since all they have to do is pull the lash extensions from the lash line stick on a lash tile.
Common size of individual lash trays
To accentuate clients' lashes to their exact preference, the key things to consider when using individual lash trays is the size, curl, a number of lashes, and the type of tray used which can be either single or mixed.
The commonly used size of lash trays is usually on a spectrum of 8mm-15mm, specifically in the case of mixed trays, whereas single trays are available up to 8mm-18mm.
Individual lash trays also come in different curl types. The most commonly used ones being C and D curl types. Most people go for C curl types if they want a more natural finish, while D curl is ideal if a client wants a more dramatic effect.
When it comes to the diameters of the lashes, it is essential to know that most people’s natural lash thickness is around 0.07mm. The most common diameters suitable when using individual lash trays on clients can range between 0.07/0.012/0.15mm depending on the client’s wishes.
How to use individual lash trays

Now when it comes to using individual lash trays, some essential equipment required include:
-
Individual eyelash adhesive.
-
Tweezers.
-
Individual lash tray set of choice.
-
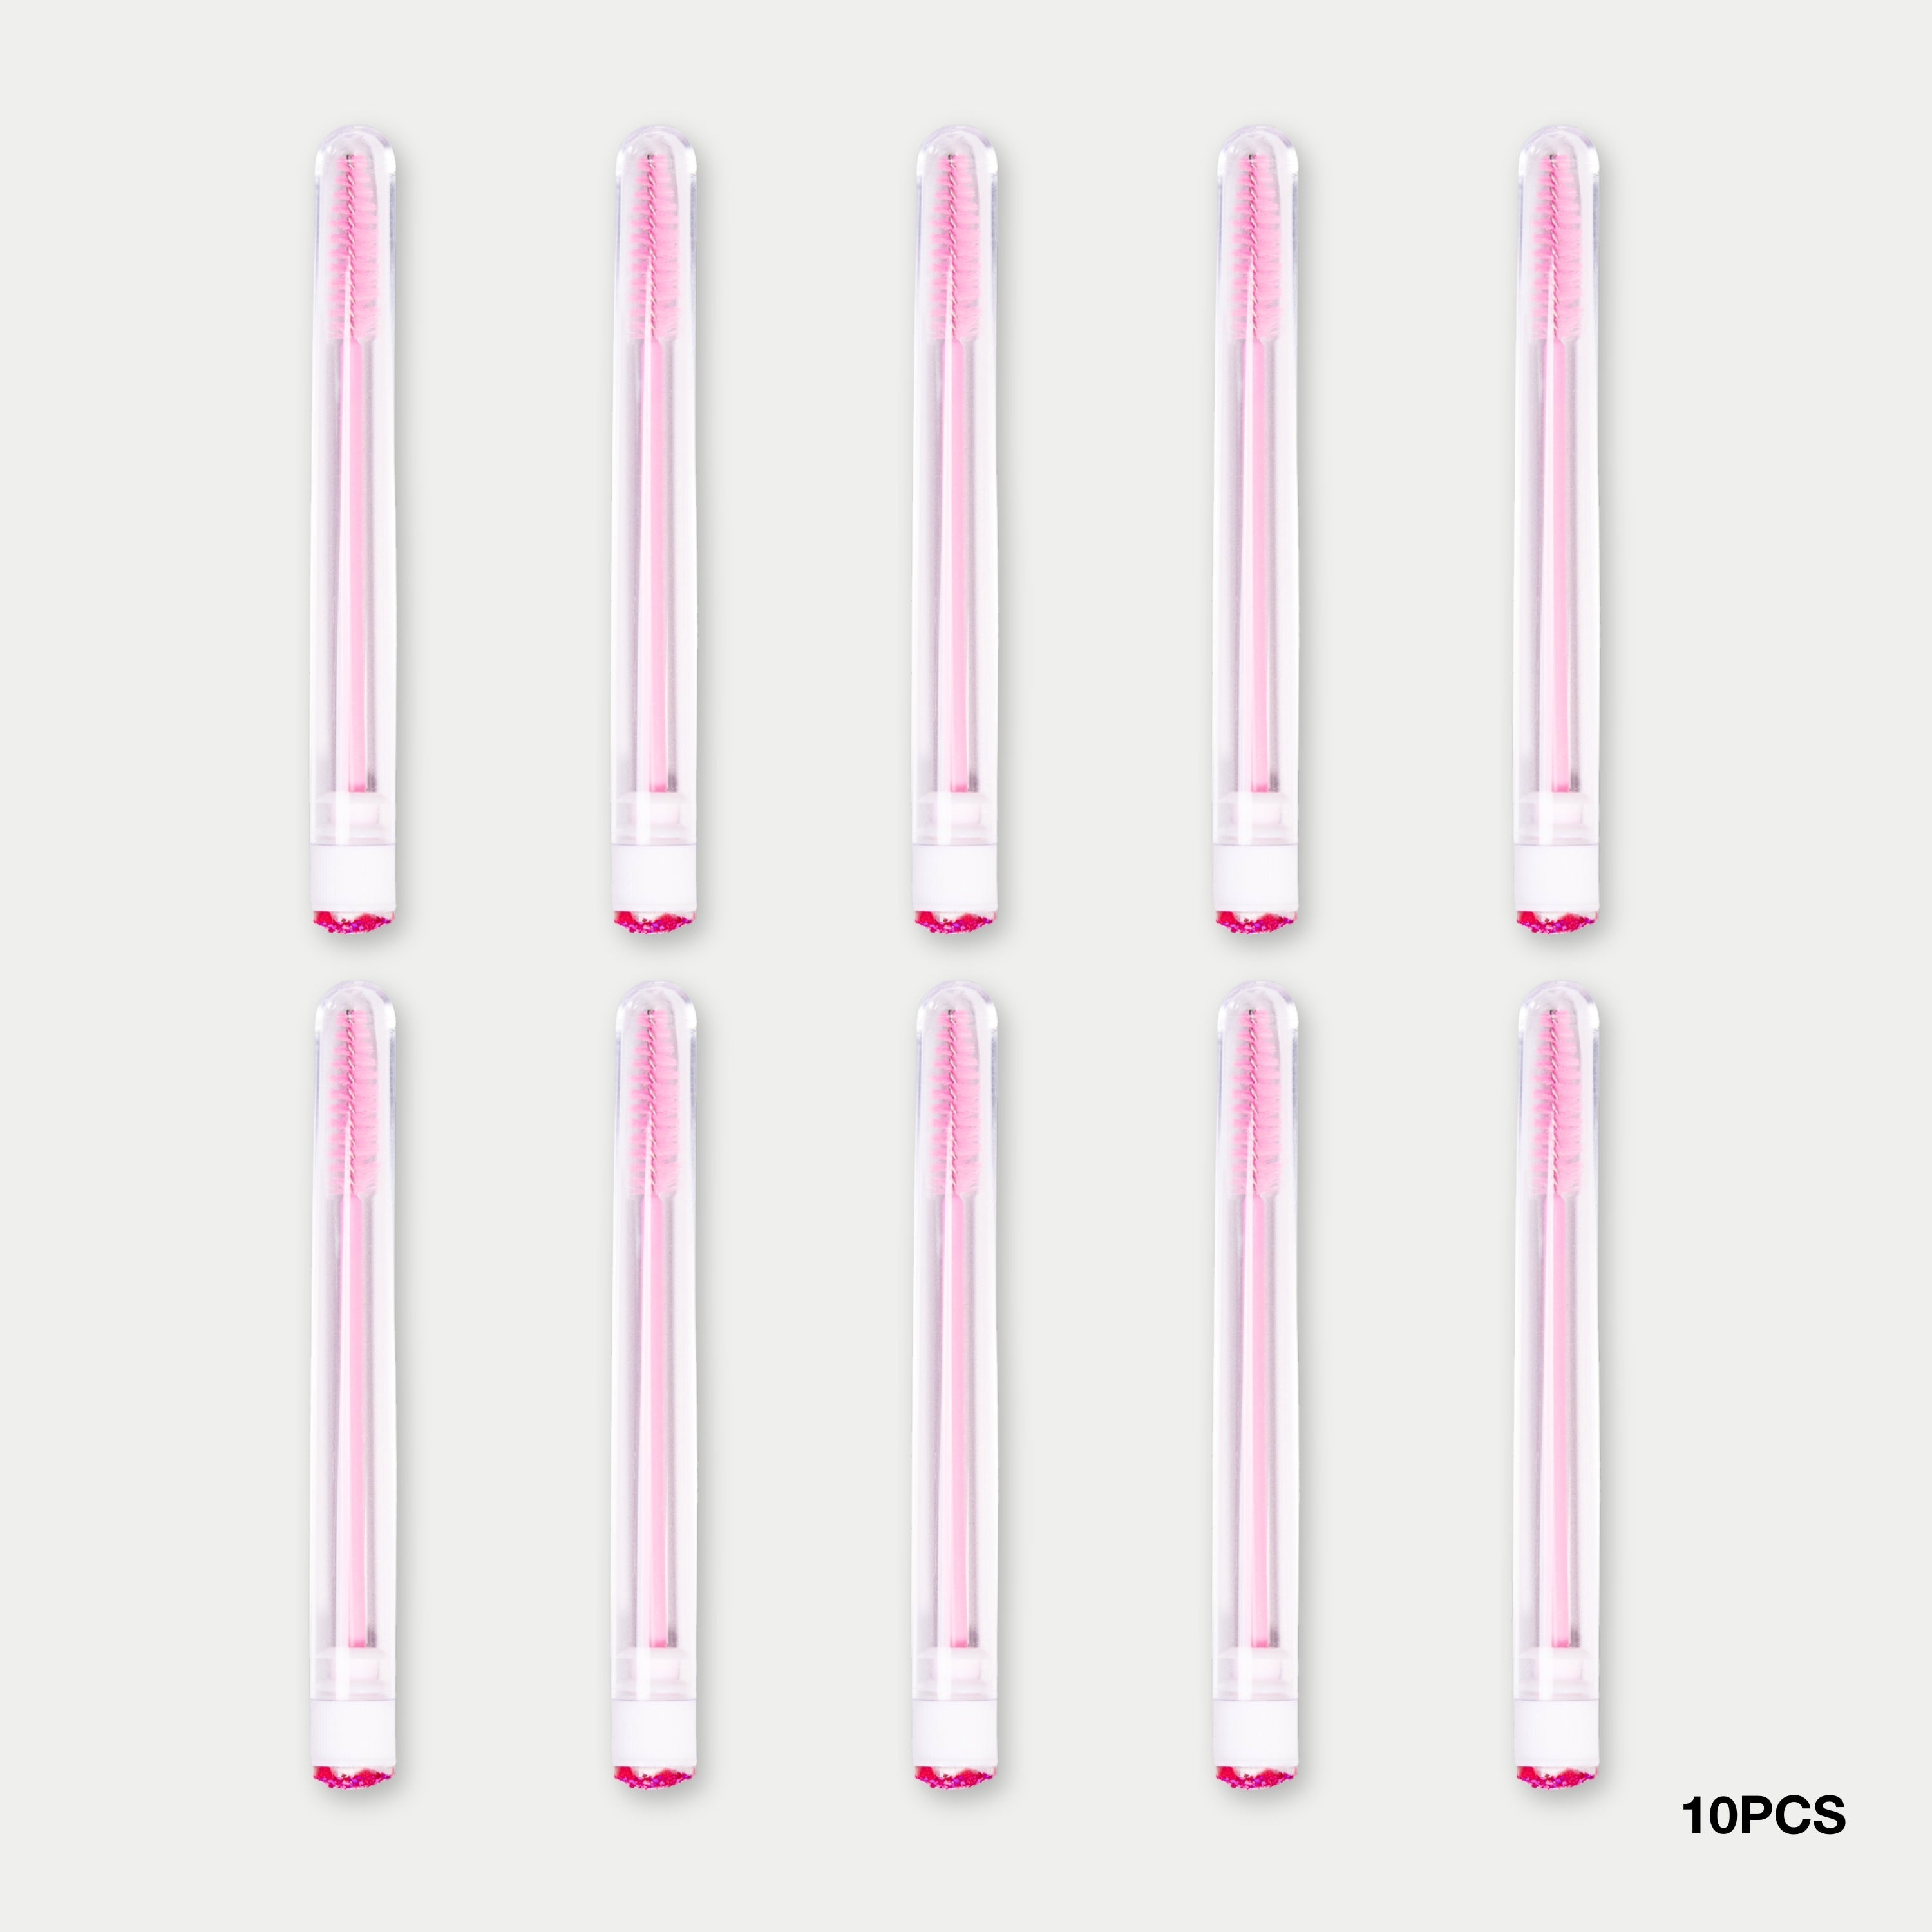
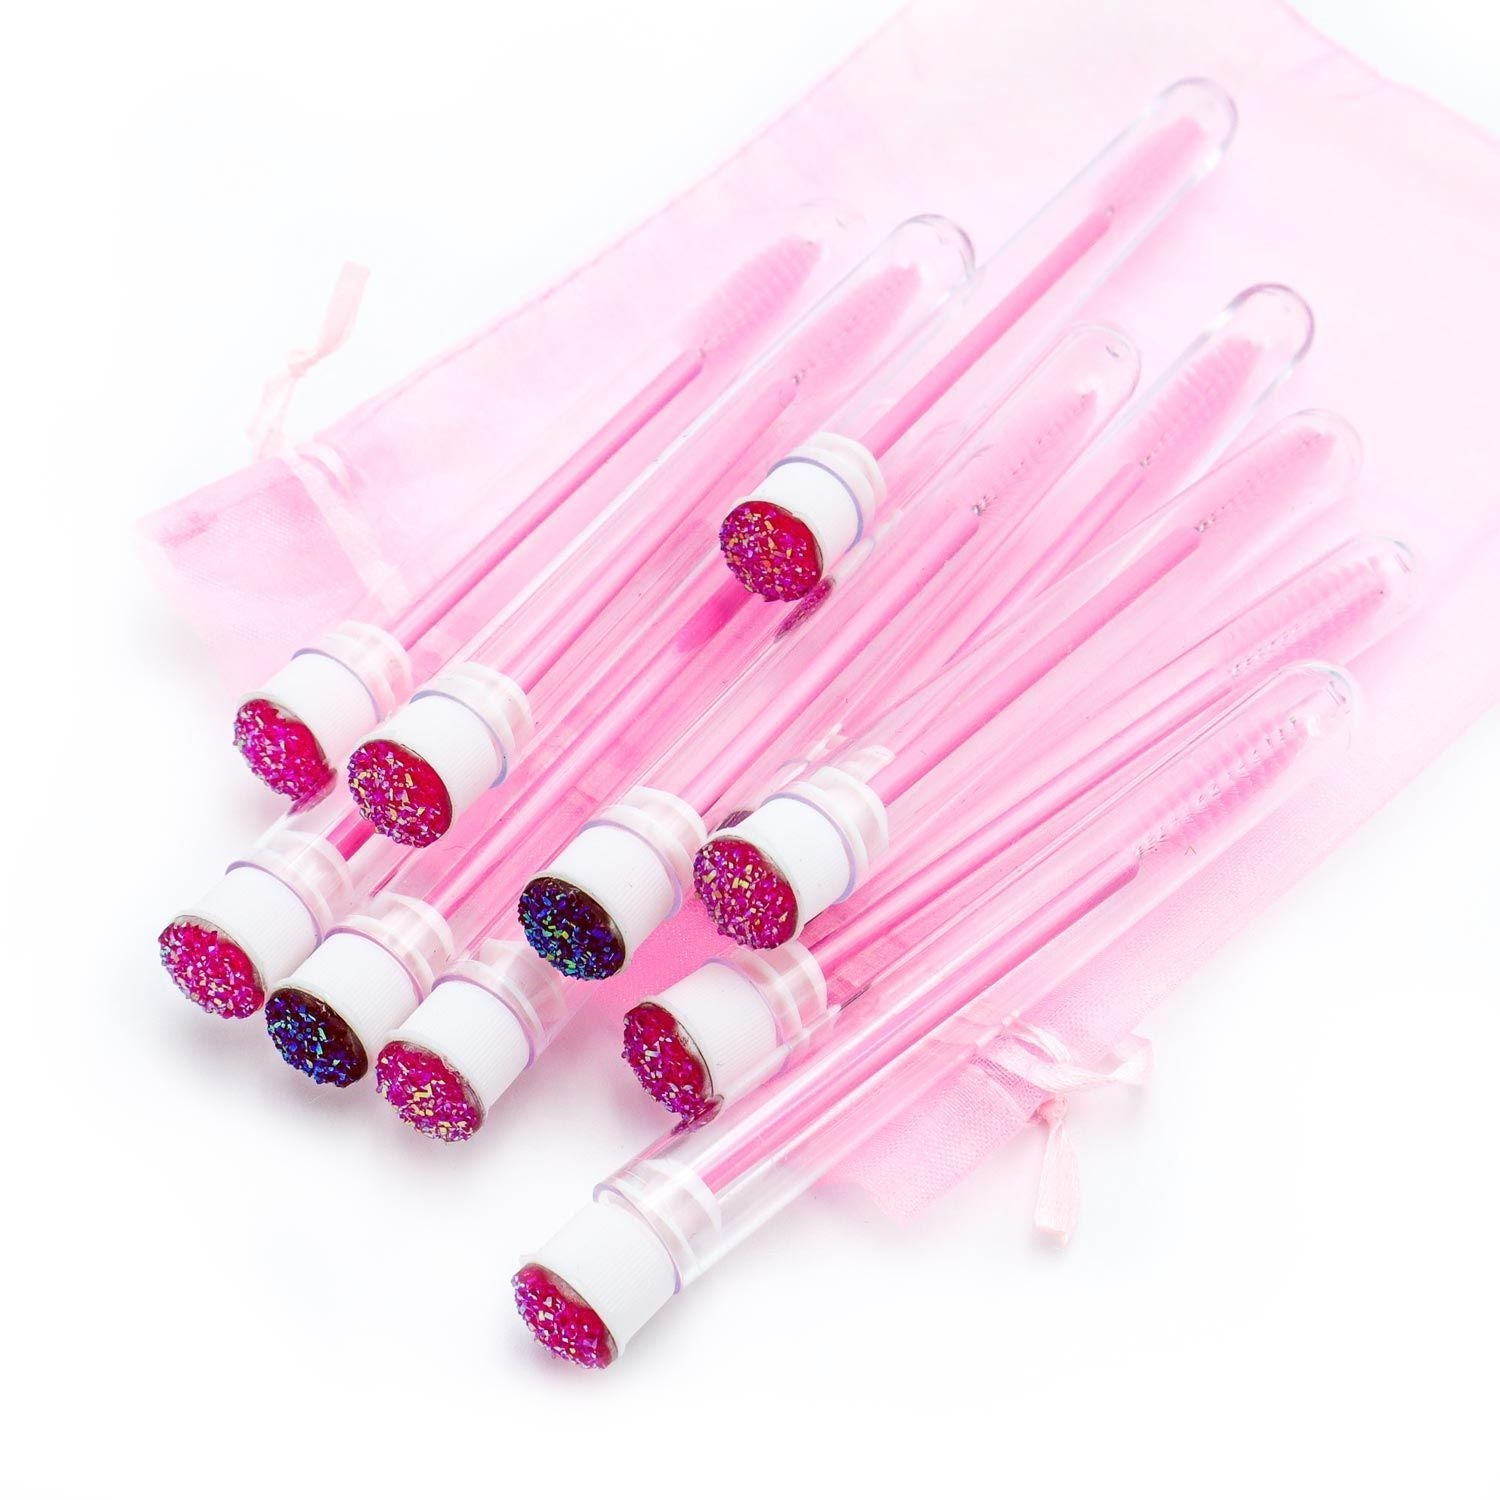
A spoolie brush.
-
A lash tile
Classic Set
When using a classic lash tray set, a reliable method commonly used is the 1:1 method. In this method, classic lashes are individually applied by gluing one eyelash extension on one natural lash. This method is excellent for those looking for a more natural lengthening effect as opposed to volume.
Key steps
Step one: Use a spoolie to brush natural lashes in place gently.
Step two: Using tweezers, gently lift an individual lash tray strip from the set and stick it onto a lash tile. Make sure to use the lash spoolie to brush the lash strip on the tile.
Step three: Pull the lash extensions from the lash strip on the lash tile toward you, and dip it in the eyelash glue.
Step four: Make sure the individual lash position is as close to the lash line leaving 1 mm between the extension and the eyelid, and as evenly as possible, place it directly on top of the natural lash.
Step five: Repeat the previous steps until the desired number of lashes have been added to the lash line. Once enough lashes have been added, gently brush the lashes using the spoolie to comb through and blend the newly added lashes with the natural ones to soften and enhance the appearance.
Step six: Don’t forget aftercare or if in the case of being a lash technician, make sure aftercare has been properly explained to the client.
We hope this post inspires confidence to try out individual lash trays for yourself as it is so much more practical to apply pre-aligned and easy to peel off strips of lashes as opposed to loose lashes sold in pots.
Recent Blog Posts

The Secret to Perfect Lash Layering: Thickness, Length, and Curl Combinations
Lash layering is often talked about as a technical skill — but in real practice, it’s primarily a visual one. Before choosing diameters, lengths, or curls,...
Lash Trends to Watch for 2026: What’s Next After Anime and Brown Lashes?
Lash Trends to Watch for 2026: What’s Next After Anime and Brown Lashes? When we talk about lash trends 2026, it’s clear the industry is...

How to Store Lash Products During Winter (Adhesive, Primer & Sealant Care)
Winter is beautiful… but not for your lash products. Cold air and sudden temperature changes can thicken your adhesive, destabilize your lash primer, and shock...


