Classic doll eyelash extensions for beginners
Once you have taken your eyelash training and have learned a little bit about classic lash extensions, the next step would be to learn and determine the right lash style for your client. There are many different types of lash styles that suit each client depending on their eye shape and/or their natural lash growth. In this article, we will be talking about the classic “doll eye” look and how it can be achieved, the step-by-step process, some dos and don’t, and some products that we believe can help you achieve a stunningly gorgeous classic doll-eyed look.
What are classic doll eyelash extensions?
What is great about this kind of eyelash mappings is that it is kind of universal, meaning it can suit anyone. If your clients aren’t sure what they want, make sure to suggest to them the doll eye effect. Usually, they will end up loving this mapping. If they don’t, no worries! You can then change accordingly when it is time for an infill if they don’t love it that much. They'll, for sure, be able to tell you what they prefer after their first appointment.
The doll-eyed look is described as having shorter lashes at the inner and outer corners of the eye, and longer lashes in the middle. So an example of a doll-eyed map would be 8-9-10-11-12-12-12-11-10.

It doesn’t have to be that specific mapping, but doll eyes require the longest lengths to be in the middle, and shorter lashes in the inner and outer corners.
Monolid, hooded and almond eyes look great with this style, as it creates a flattering opened-up look that adds freshness to the face and you would still be placing one individual eyelash extension to one natural lash.
Steps by steps for classic doll eyelash extensions
- Always making sure your tools and workstation are neatly organized and clean
- Assess the client’s natural lashes to determine the appropriate length and curl
- *TIP* one idea that can ‘up’ your classic lash set is choosing the TYPE of classic lashes you want to use. Flat lashes are a recent trend that is also used in classic sets. It gives the look of more fullness without using fans to achieve it.
- Make sure you are mapping out your set onto the eye pad to make it easier to reference while you begin your work and to keep the set in unison
- Depending on how you choose to lash, you may start your set by lashing in layers, starting with the middle section of the eye, tackling with the inner corners, working back-and-forth between eyes, etc. It’s all up to you and what you’re comfortable with.
- Always check your work with a mirror to make sure you’ve gotten all the lashes that are hiding above the top layer and that the two eyes are pretty much symmetrical.
The dos and don'ts of classic doll eyelash extensions

- Make sure to discuss with your clients in order to see what kind of effect they want before starting.
- Make sure to choose the right lengths and diameters, in order to achieve a healthy set on your client’s eyelashes.
- Make sure you’re lashing each lash then can be lashed on.
- Don’t forget to taper off the ends of the lashes (i.e., using shorter lengths on the ends as well).
- At the end of the set, make sure you continue to educate your client on the appropriate after-care to keep their lashes lasting long and keep their lashline healthy
LLBA products for classic doll eyelash extensions

LLBA Professional carries various products that can be beneficial for prep and for lashing. Specifically for classic lashing, here are some amazing products you can use for your upcoming classic lash appointment:
Flat lashes: Our flat lashes are flat at the base and taper off at the end to give a wider look. They look absolutely stunning in classic sets thanks to their rich black matte finish. These lashes come in a mixed tray (8-15mm), 0.12, 0.15, 0.18, and 0.2 with various curls such as C, CC, and D.
LLBA Professional’s Flat Lash Collection
Velvet Supermink lashes: These are much darker than regular mink lashes, with a matte black appearance. They're really light and fine, and many people say they feel just like their own natural lashes! They're waterproof, and because they're so light and fine, they last longer than other lash products. Most importantly, they are a fraction of the price of real mink, with all of the advantages and none of the cruelty!
LLBA Professional’s Velvet Supermink Collection
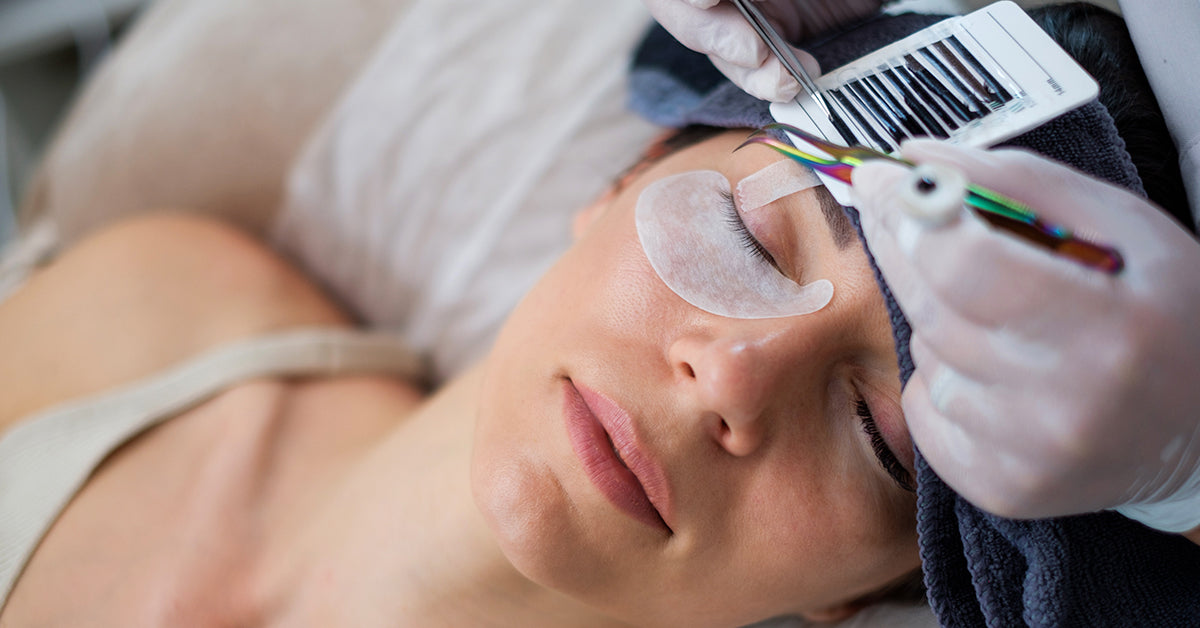
Hydrogel under-eye pads: The eye patches are used to keep the customer comfortable during the eyelash extension procedure. During the eyelash extension procedure, these eye patches stimulate the skin's collagen to brighten the area under the eyes. LLBA Professional has a variety of shapes to pick from based on the shape of the client.
Lash Map stickers: Lash map stickers are intended to help you map out your lash application and master it and should be placed on top of the eye pads.
Lash Mirror: The Lash Mirror (Crescent-shaped) is a useful tool for achieving the correct set. Throughout your application, use the front view lash mirror to inspect the front of your sets without having your clients open their eyes! This is key to making sure you haven’t missed any stray lashes!
Disposable Dental Bibs: With these LLBA flat bib sheets, you can keep your workspace tidy and clean. To ensure optimal protection, our bibs are made of 2-ply paper and 1-ply poly film. The bibs are waterproof, so they're great for keeping clients clean while you're applying the lash set. Our bibs are large enough to cover a vast surface area, measuring 13 "by 18". They keep your lash pillow clean by properly covering it under their head. The bibs are also water-resistant. This bib shields your clothes and skin from lash and brow liquids, adhesives, tint-related products, and other potentially harmful substances. The waterproof bibs are leak-proof and leave no residue on your client's apparel.
Making sure we have the right products on hand and mapping out the classic doll eyelash extensions correctly will surely help you achieve a beautiful set. The doll eye effect looks great on everyone, and if your client wants a natural, it is the right decision!Recent Blog Posts
Lash Trends to Watch for 2026: What’s Next After Anime and Brown Lashes?
Lash Trends to Watch for 2026: What’s Next After Anime and Brown Lashes? When we talk about lash trends 2026, it’s clear the industry is...

How to Store Lash Products During Winter (Adhesive, Primer & Sealant Care)
Winter is beautiful… but not for your lash products. Cold air and sudden temperature changes can thicken your adhesive, destabilize your lash primer, and shock...
How to Prepare Lash Sets for Cooler, Drier Weather (Humidity, Heat, etc.)
As temperatures drop and the air gets drier, your lash routine deserves a seasonal upgrade. Fall and winter bring cozy vibes, but also low humidity,...


