


How to Use Lash Primer for Longer-Lasting Extensions
If you’re skipping lash primer, you’re skipping out on stronger bonds, longer retention, and better sets, especially for clients with oily lashes, tricky retention, or humid environments.
Primer might seem like one of those “nice to have” extras, but if you want to work smarter (not harder) and stop fighting premature fallouts, it’s time to take it seriously. Here's how to use it right, and avoid the mistakes most lash techs still make.
What Does Lash Primer Actually Do?
It deep-cleans natural lashes in ways a cleanser can’t. Sure, your client might show up saying “I washed my lashes before coming,” but let’s be honest, we all know that doesn’t mean squeaky clean.
Lash primer removes leftover oils, dirt, and residue, then balances the pH of the natural lash. Why does pH matter? Because it helps your adhesive cure faster and bond stronger.
No slip, no lift, no excuses.
Do You Really Need Lash Primer?
Short answer: If you care about retention, yes.
Long answer: Primer is your insurance policy against bad retention, especially in these situations:
-
Clients with oily skin
-
Humid climates (hello, summer fills)
-
Mega volume or heavy layering
-
Clients who swear they’re cleansing, but… you know they’re not
Think of it like priming a wall before you paint it. You wouldn’t slap expensive paint on a dusty surface and hope for the best, so don’t do that with your lash sets either.
How (and When) to Use Lash Primer
Here’s the quick-and-clean breakdown for perfect prep:
1. Start with a lash cleanser.
Use a lash shampoo or cleanser to remove surface makeup and oil. Rinse and pat dry.
2. Dry thoroughly.
Make sure the lashes are completely dry. No moisture allowed, your adhesive hates that.
3. Apply primer.
-
Use a microbrush or lint-free applicator.
-
Dab (don’t drench) a small amount of primer onto the tool.
-
Gently swipe through the natural lashes, from root to tip. Focus near the base where the bonding happens, but don’t flood the waterline.
-
Let it sit for 30 seconds to a minute and air dry completely.
Now you’re ready to lash.
Lash Primer FAQ (Because You Know They’ll Ask)
Can’t I just use lash shampoo instead?
Nope. Cleansers remove surface stuff. Primers break down deeper oil and rebalance the lash for max bond. They work together, not in place of each other.
Do I apply primer after extensions?
Definitely not. Lash primer is for pre-application only. Think: cleanse > prime > lash.
What kind of primer is best?
Look for one that’s gentle but effective. pH-balanced, low alcohol, non-irritating, but tough enough to cut through oils. (Hint: ours does exactly that.)
Primer Mistakes We Still See
Let’s clear these up once and for all:
-
Drenching the lashes. Primer’s powerful, don’t soak the brush.
-
Not letting it dry. Wet primer messes with glue performance.
-
Getting it on skin. Hello, irritation.
-
Skipping it for oily clients. They’re the ones who need it most.
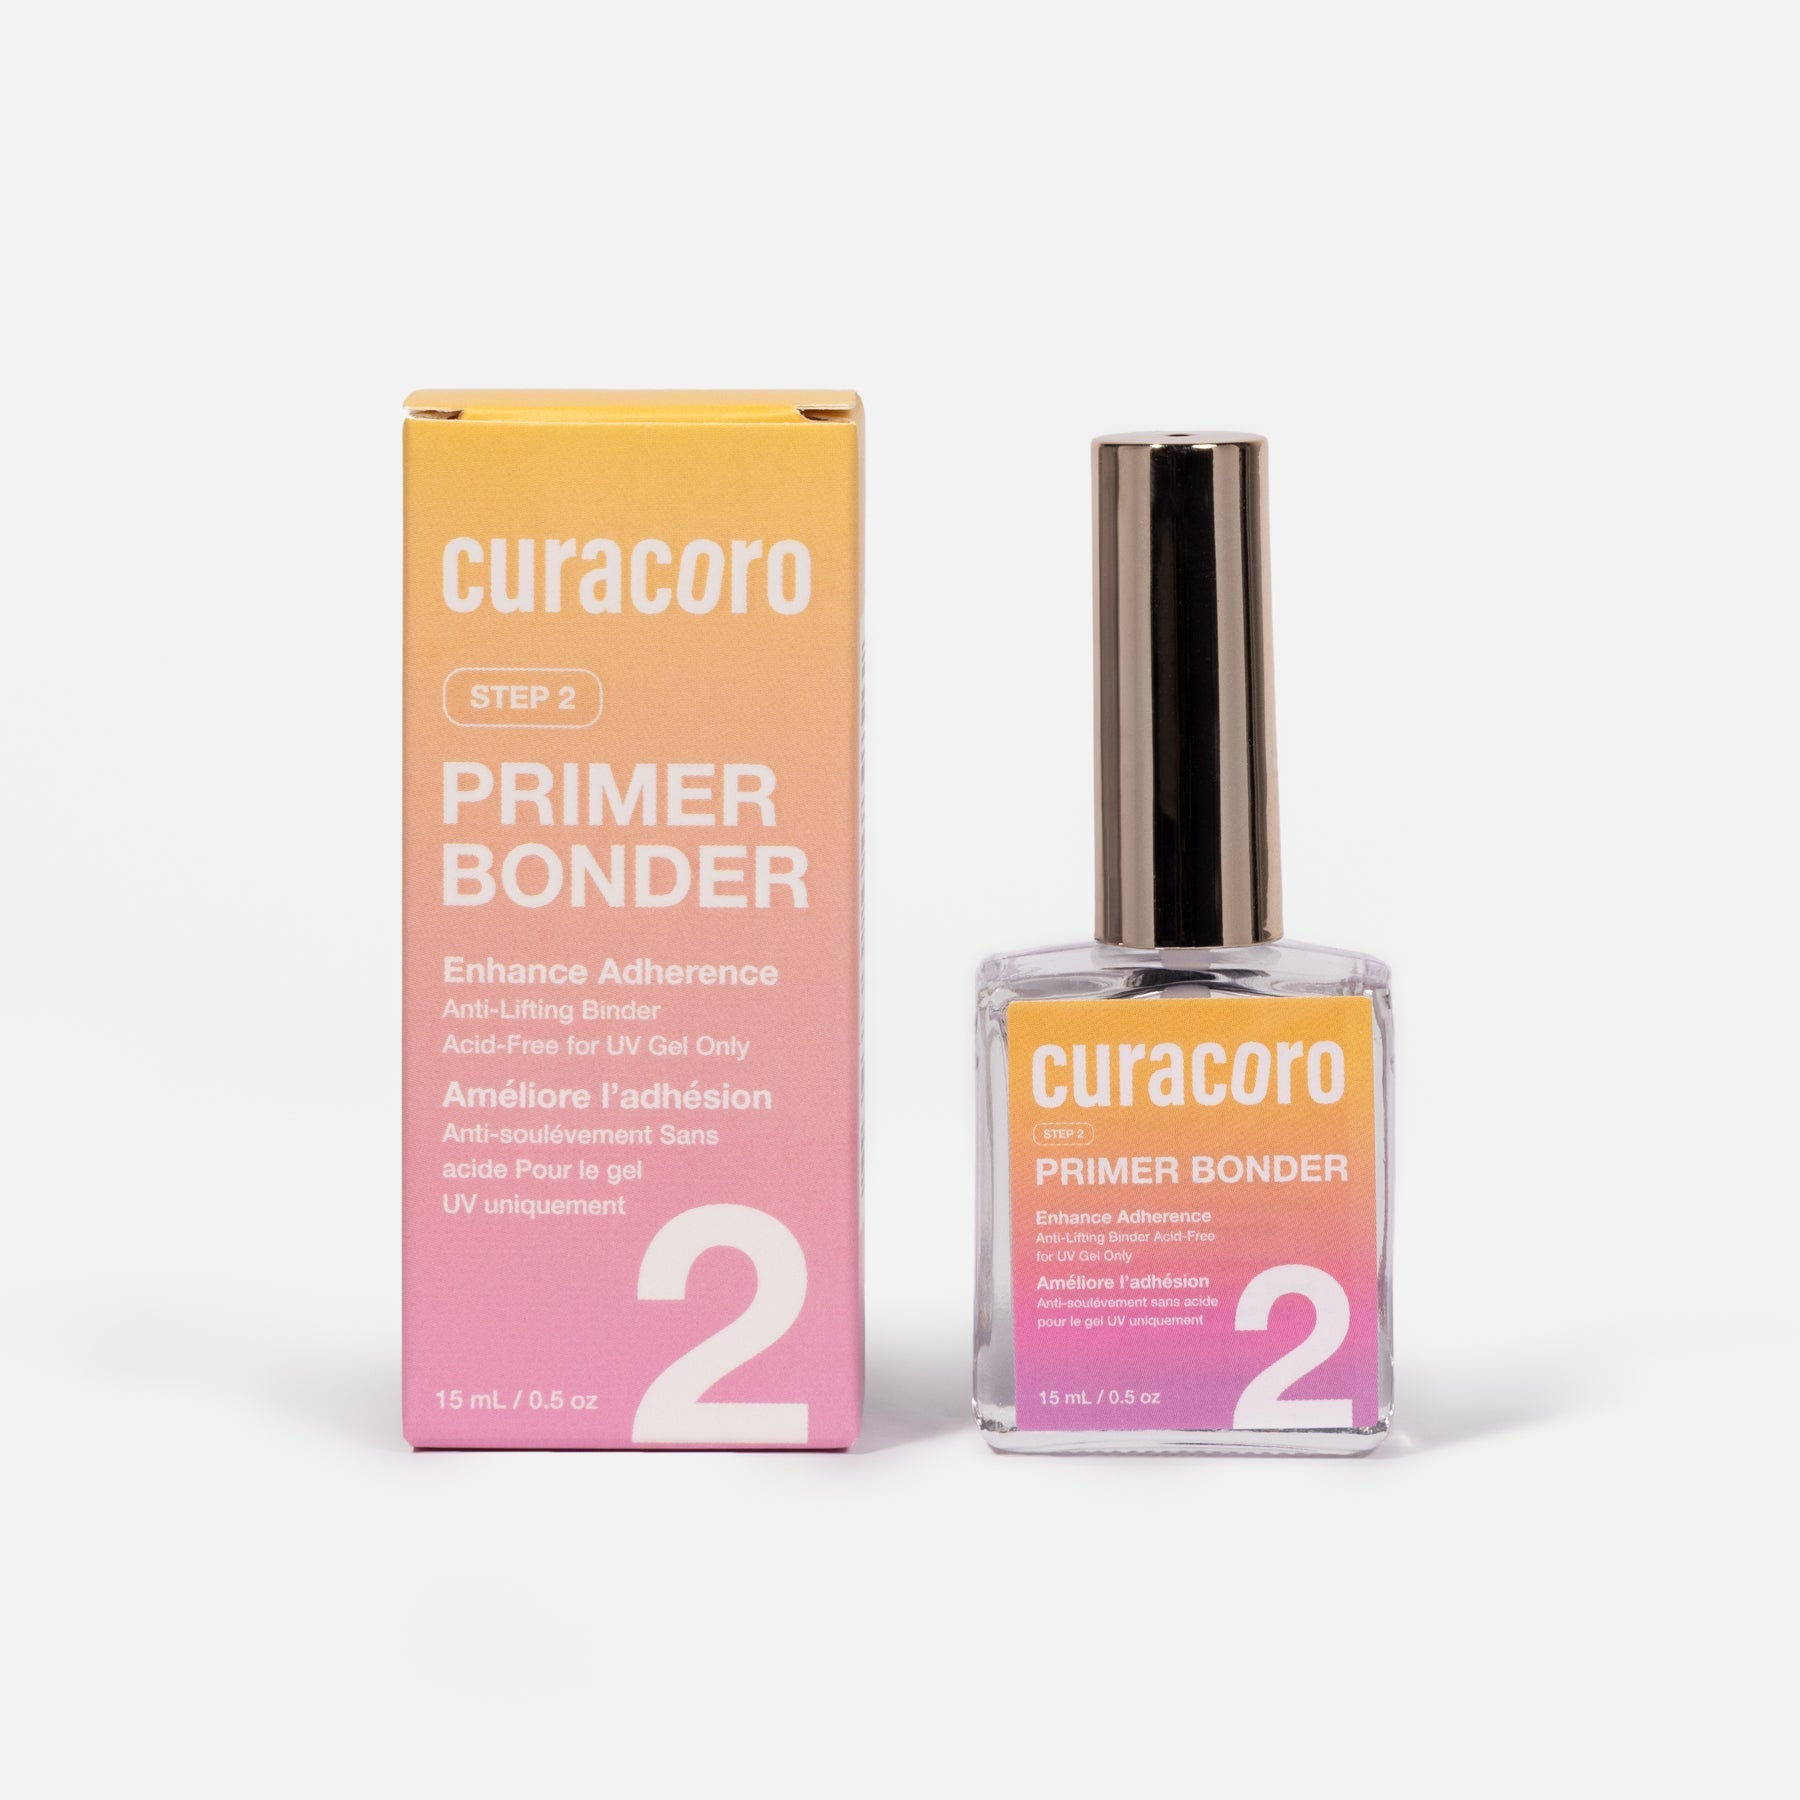
Primer vs. Bonder: Why You Might Need Both
Think of lash primer and bonder as your prep and seal team. They don’t do the same job, but together, they can seriously upgrade your retention game.
Primer is your starting point. It deep-cleans the natural lashes, removes oils and residue, and rebalances the pH to help your adhesive grip better and cure faster. It’s all about prepping the perfect surface before application.
Bonder, on the other hand, comes in after the set. It instantly cures the adhesive from the outside in, locking in fumes and reducing irritation. It also helps make the bond more flexible, which minimizes breakage and extends the life of the extensions.
Why use both?
Because together, they cover your full retention lifecycle:
-
Primer → Creates an ideal lash base.
-
Adhesive → Bonds the extension to the natural lash.
-
Bonder → Seals the bond, boosts flexibility, and reduces shock curing or retention loss due to brittle glue.
They don’t replace each other, they complement each other. Think of them as your before-and-after dream team for better retention, happier clients, and fewer early fills.
Can You Use Primer on Sensitive Clients?
Yes, but be mindful. Go for a sensitive or low-alcohol formula. Always avoid the eyelid and do a patch test if needed. Comfort and performance don’t have to be mutually exclusive.
Pro Tip: Use Primer During Fills
After cleaning and isolating, apply a bit of primer to the grown-out natural lashes, not the bonded ones. It resets the surface and helps the new lash extensions attach like the first time.

Final Thoughts
If you’re skipping primer, you’re skipping retention. Period. Adding this one-minute step into your lash prep routine can make the difference between 3-week retention and “I need a fill in 5 days.”
Want something that works on every client, dry, oily, or somewhere in between?
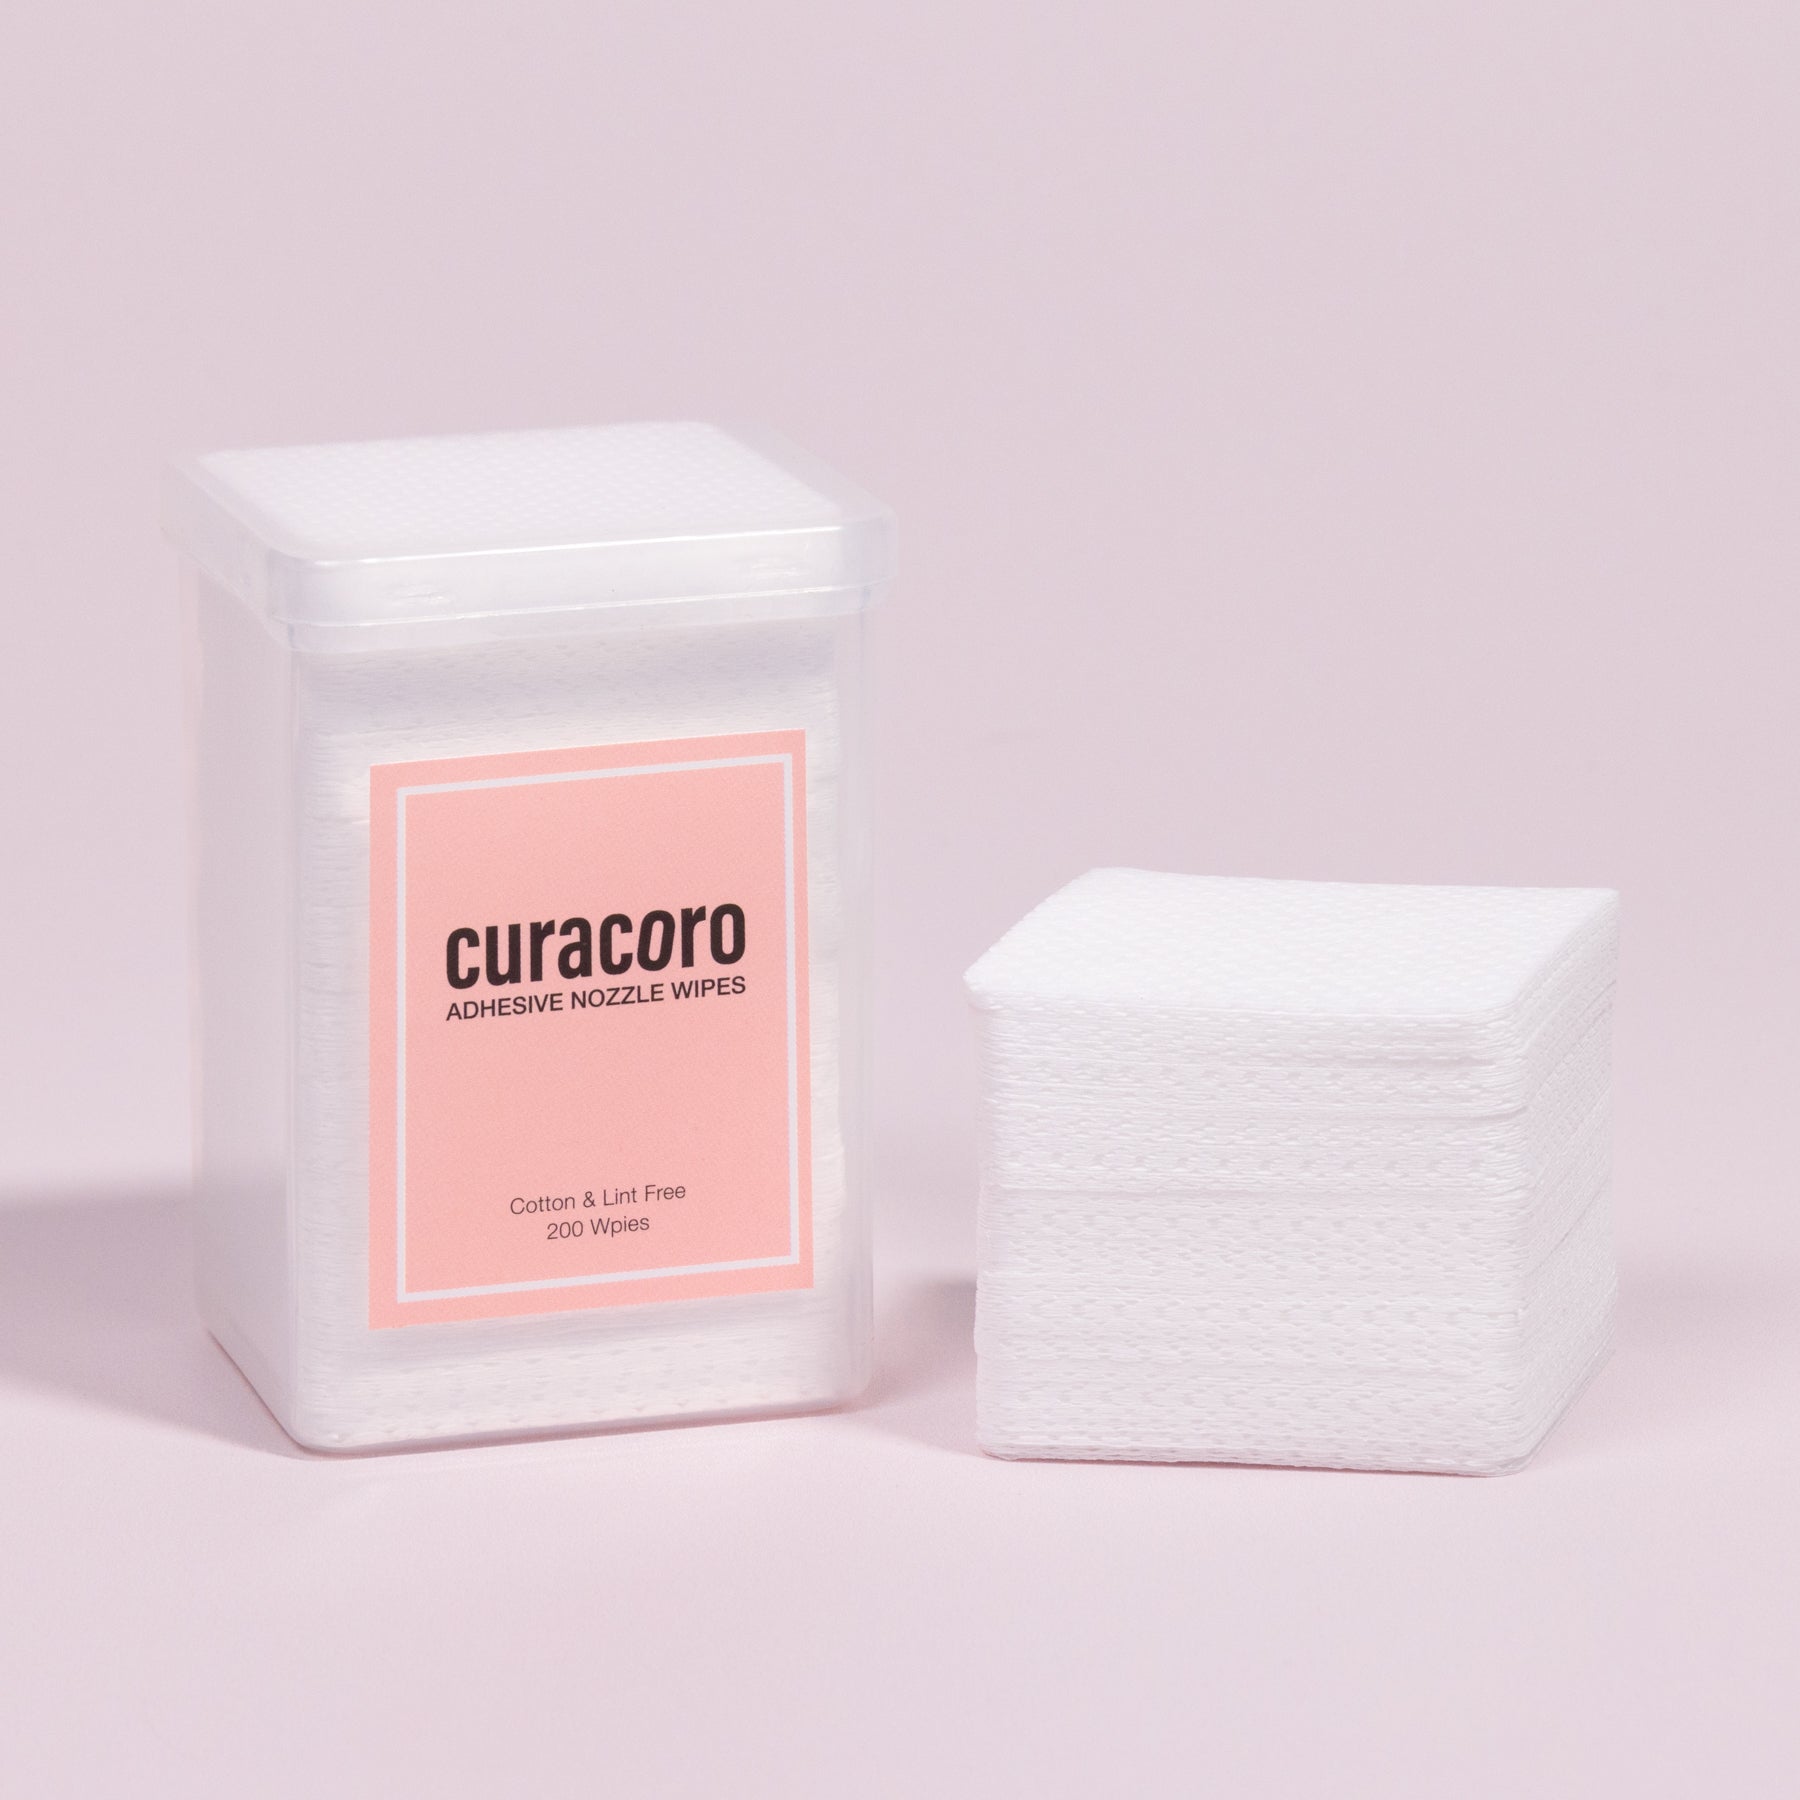
Curacoro’s Biotin Primer isn’t just about cleaning. It’s packed with lash-loving ingredients like biotin, which helps strengthen natural lashes while prepping them for max adhesion. It deep-cleans, rebalances, and lays the perfect foundation for any set: classic, volume, or spikes.
Lightweight, non-irritating, and versatile, it’s the retention booster your lash cart has been missing!
Recent Blog Posts

The New Era of Colored Lashes: Browns, Reds, and Soft Dimensio
Jet black has dominated the lash industry for years — but colored lash extensions are entering a more refined era. The shift isn’t toward bright blues...

The Secret to Perfect Lash Layering: Thickness, Length, and Curl Combinations
Lash layering is often talked about as a technical skill — but in real practice, it’s primarily a visual one. Before choosing diameters, lengths, or curls,...
Lash Trends to Watch for 2026: What’s Next After Anime and Brown Lashes?
Lash Trends to Watch for 2026: What’s Next After Anime and Brown Lashes? When we talk about lash trends 2026, it’s clear the industry is...