


5 Common Lash Setup Mistakes Slowing You Down (and How to Fix Them)
Your lash setup should be quick, clean, and client-ready in minutes, not something that eats into your appointment time. But even experienced lash artists slip into habits that slow them down, waste products, and make the experience less than luxe for clients.
From eye pad placement to lash tile organization, the small details matter. Here’s how to avoid the setup mistakes our trainers see most often, and how to fix them so you can work faster, smarter, and more professionally.
1. Placing Eye Pads Too High (or Too Low)
The mistake:
Pads placed too high can poke and irritate. Too low, and they don’t hold the lower lashes, so you add extra tape, making things bulky and uncomfortable.
Why it’s a problem:
-
Extra tape = extra time + product waste
-
More bulk = less comfort for your client
-
Stray lashes make isolation harder
The fix:
Place pads just under the lower lash line so they fully cover the bottom lashes without touching the waterline. If you see a stray lash? Sweep it under the pad instead of reaching for more tape.
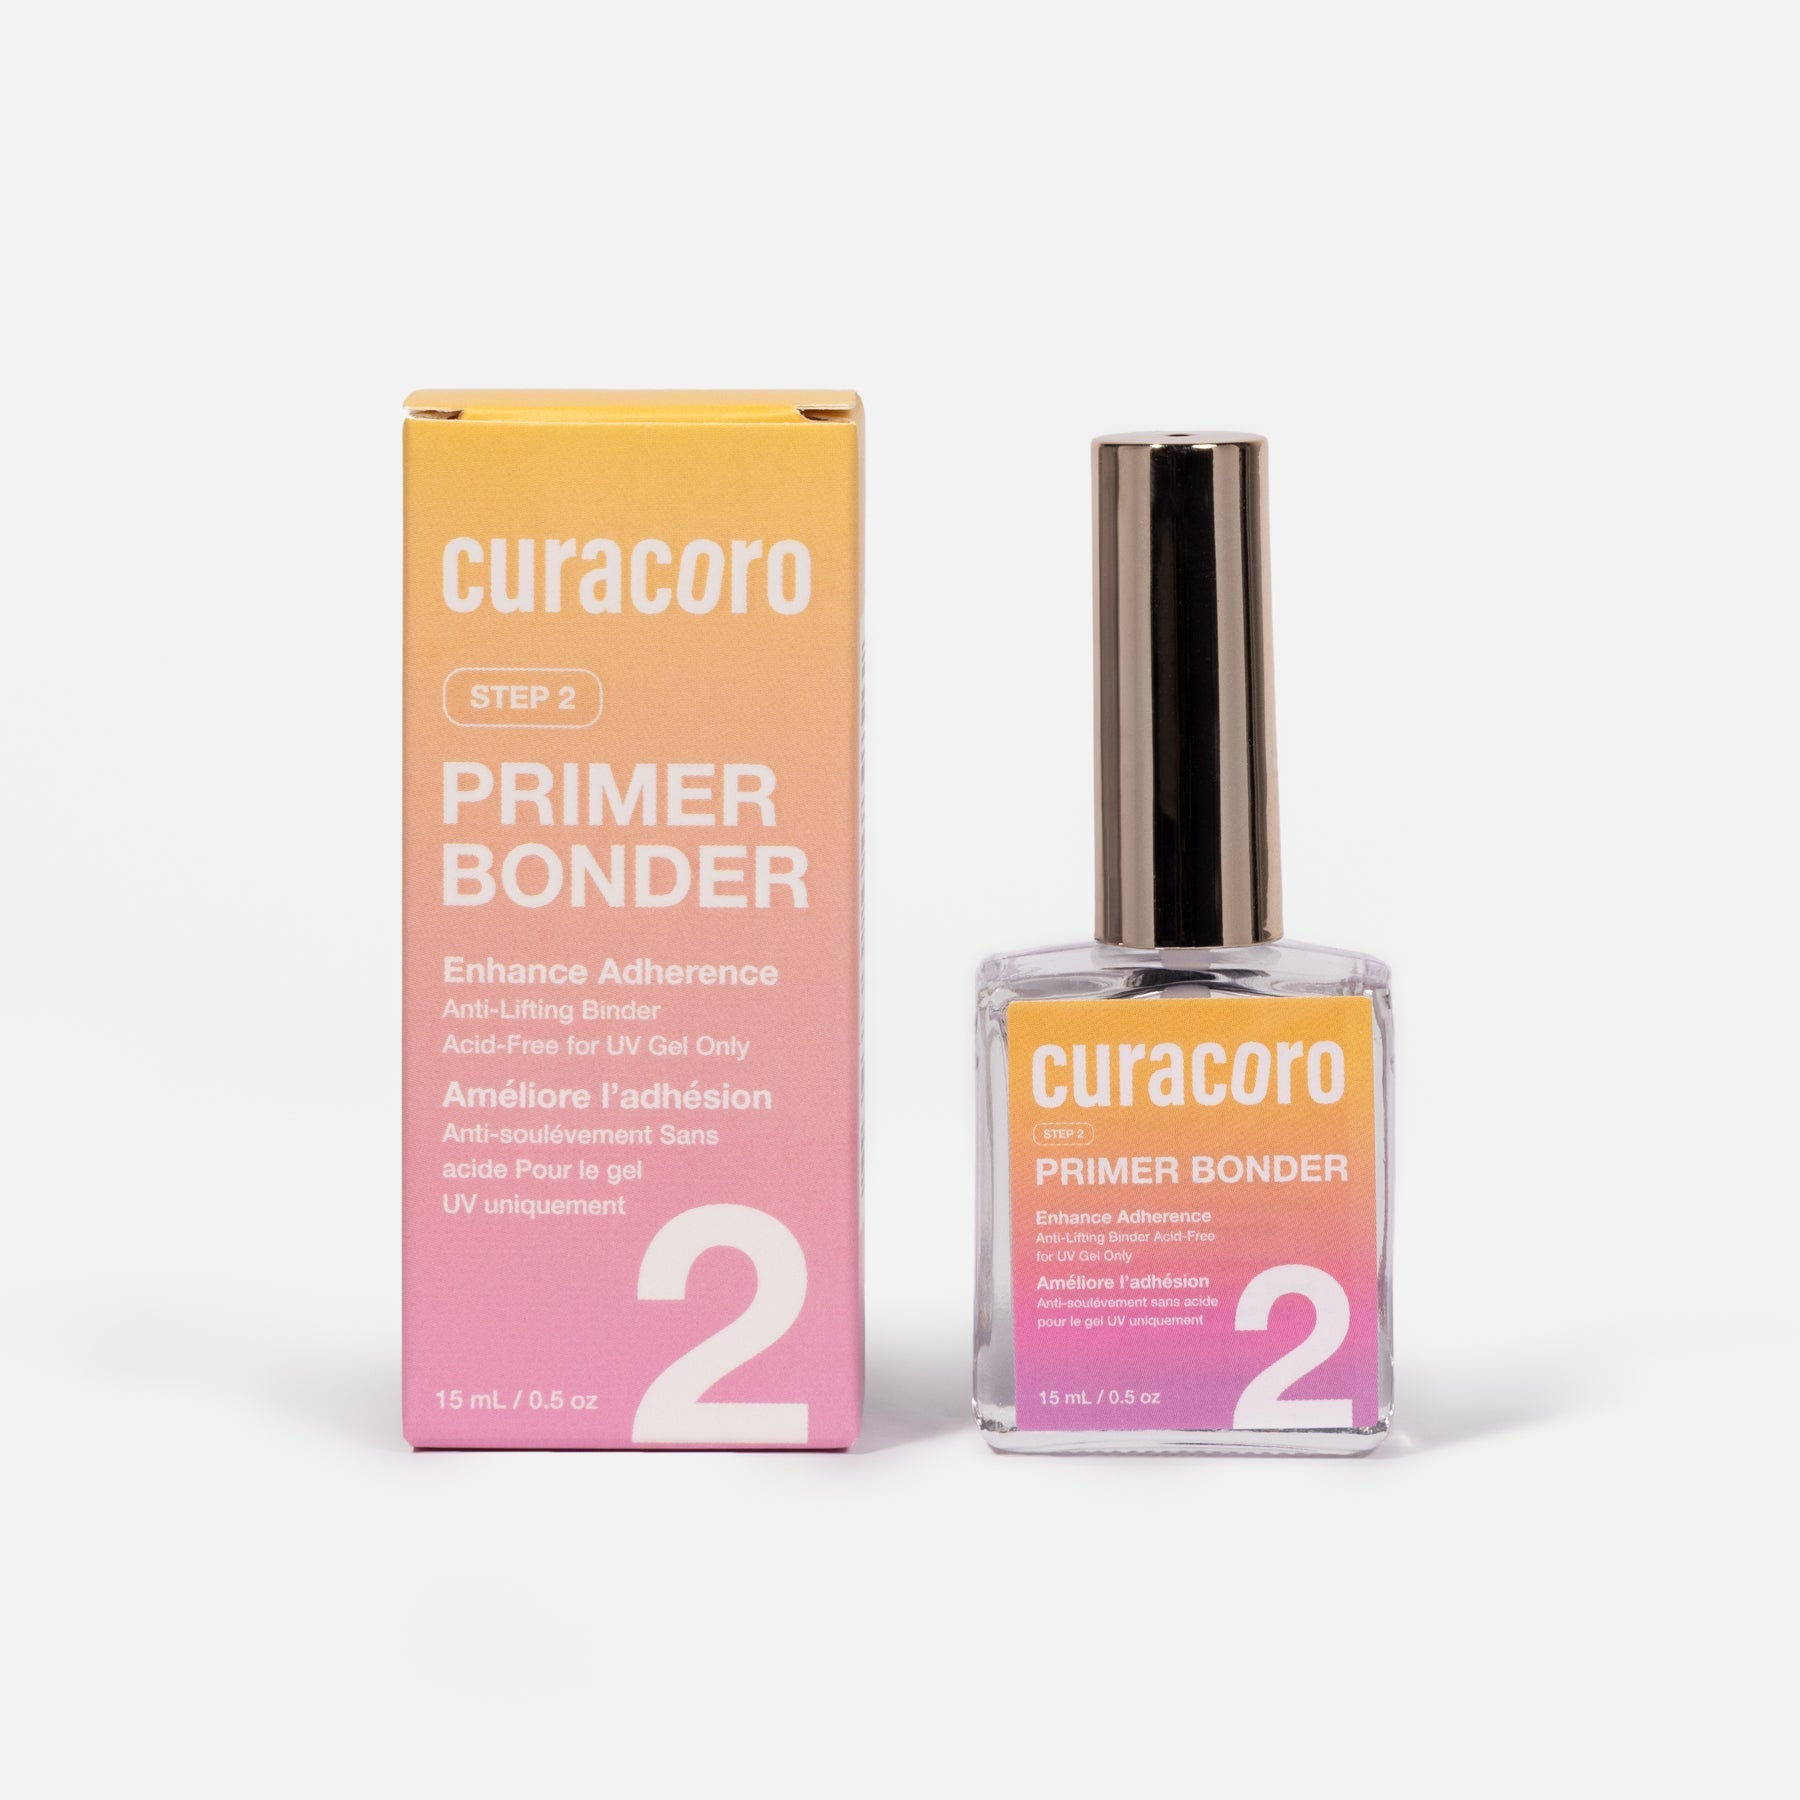
2. Skipping Primer or Not Drying It Properly
The mistake:
No primer? Your client’s natural oils stay on the lashes. Wet primer? Your adhesive cures too fast. Either way, retention suffers.
Why it’s a problem:
-
Oils + residue = poor bonding
-
Wet primer = premature curing = weak hold
The fix:
Always prime. Use a microfiber brush for precision, then dry thoroughly with a handheld fan before you start. Proper priming = stronger bonds + better retention.
3. Overusing Tape
The mistake:
Layering tape like it’s a fashion trend, three or more strips per eye when two will do the job.
Why it’s a problem:
-
Slows down your setup
-
Feels uncomfortable for clients
-
Wastes product
The fix:
Two strips of tape per eye are enough for isolation and pad security. Place them with purpose, no bulk, no discomfort, no time wasted.
4. Putting Lash Tiles on the Client’s Forehead
The mistake:
Resting your lash tile on your client like they’re part of the workstation.
Why it’s a problem:
-
Feels heavy and awkward for the client
-
Kills that luxury-service vibe
-
Risk of product transfer or irritation
The fix:
Keep your lash tile on your work surface or bed extension. Organize by length, curl, and diameter, and angle it for quick, easy pickup, no leaning over your client’s face.
5. Skipping Comfort Checks
The mistake:
Diving straight into lashing without making sure your client is fully comfortable.
Why it’s a problem:
-
Comfort = better client experience = better reviews
-
A relaxed client = easier application for you
The fix:
Before you start:
-
Place a tissue or headband to avoid skin contact
-
Adjust recline, lighting, and blankets
-
If you map, do it now, while your client’s fresh and relaxed
Pro Tip: Keep Setup Under 5 Minutes
When your pads, primer, tape, and tools are prepped and ready, your appointment flows. Less setup time means you stay on schedule, work stress-free, and deliver a smooth, professional client experience every time.
Final Thoughts
Small tweaks = big results. Nail your setup, and you’ll work faster, waste less, and give your clients that flawless, luxury lash experience they’ll keep coming back for.
Recent Blog Posts
Lash Trends to Watch for 2026: What’s Next After Anime and Brown Lashes?
Lash Trends to Watch for 2026: What’s Next After Anime and Brown Lashes? When we talk about lash trends 2026, it’s clear the industry is...

How to Store Lash Products During Winter (Adhesive, Primer & Sealant Care)
Winter is beautiful… but not for your lash products. Cold air and sudden temperature changes can thicken your adhesive, destabilize your lash primer, and shock...

How to Prepare Lash Sets for Cooler, Drier Weather (Humidity, Heat, etc.)
As temperatures drop and the air gets drier, your lash routine deserves a seasonal upgrade. Fall and winter bring cozy vibes, but also low humidity,...